
Many people search for simple ways to add a soft, rosy color to their lips and cheeks without relying on heavy makeup. Commercial products often contain synthetic dyes and chemicals that can feel drying or irritating over time. The idea of using natural ingredients like hibiscus appeals to those who want something gentle and plant-based. But here’s the exciting part: this vibrant flower can be turned into an easy homemade tint that adds a subtle, natural-looking flush.
In this guide, we’ll explore a straightforward DIY approach using dried hibiscus, share why it’s popular in natural beauty routines, and walk you through the steps so you can try it yourself. Keep reading to the end for tips on customization and storage.

What Makes Hibiscus a Favorite in Natural Beauty Routines?
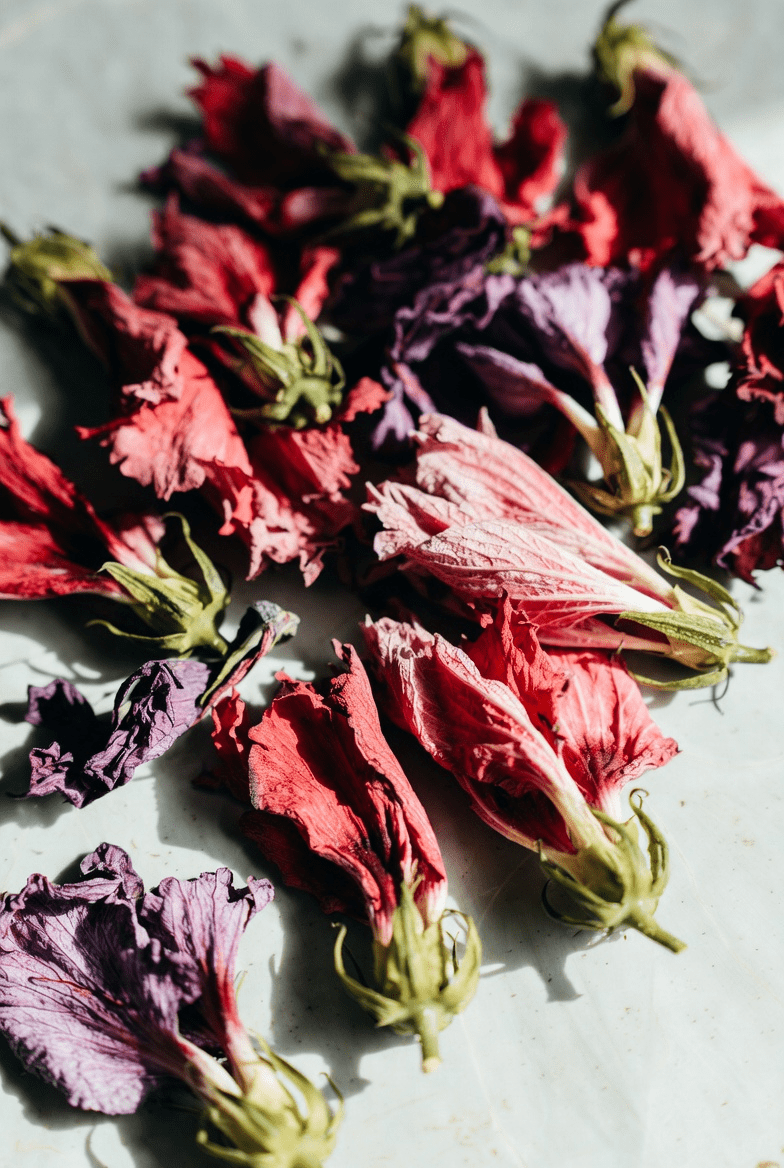
Hibiscus (often called roselle or hibiscus sabdariffa) has been used for generations in herbal traditions. Its deep red-purple calyces give off rich color when infused or powdered.
Research on plant-based ingredients shows that hibiscus contains natural antioxidants and gentle exfoliating properties, which can support smoother-looking skin when used topically in DIY recipes. Many beauty enthusiasts love it for adding a temporary rosy tint without harsh additives.
But that’s not all… the best part is how versatile and easy it is to prepare at home.
Here are some key reasons people turn to hibiscus for natural color:
- Provides a berry-like red hue that blends softly on lips and cheeks
- Feels lightweight compared to traditional makeup
- Uses food-grade, plant-derived elements in most recipes
- Easy to source as dried flowers or tea
Studies on natural pigments highlight how plant extracts like these offer subtle staining effects that can last several hours, depending on application and skin type.
A Simple DIY Hibiscus Lip and Cheek Tint Recipe
This recipe creates a soft balm-style tint (similar to a tinted lip balm or light scrub) that you can dab on lips or cheeks for a fresh, flushed look. It combines hydration with color.
Ingredients (makes about 2-3 small jars):
- 2 tablespoons dried hibiscus flowers (or hibiscus powder if available)
- 1 tablespoon coconut oil or sweet almond oil (carrier oil for moisture)
- 1 teaspoon beeswax pellets (for structure; use candelilla wax for vegan version)
- 1 teaspoon raw honey (for extra hydration and gentle texture)
- Optional: a few drops of vitamin E oil (for preservation)
Step-by-Step Instructions:
- If using whole dried hibiscus flowers, grind them into a fine powder using a coffee grinder or mortar and pestle. This releases the natural color.
- In a double boiler (or heat-safe bowl over simmering water), gently melt the beeswax and carrier oil together until fully combined.
- Remove from heat and stir in the hibiscus powder (start with 1 tablespoon and add more for deeper color). Mix well — you’ll see the beautiful red hue develop right away.
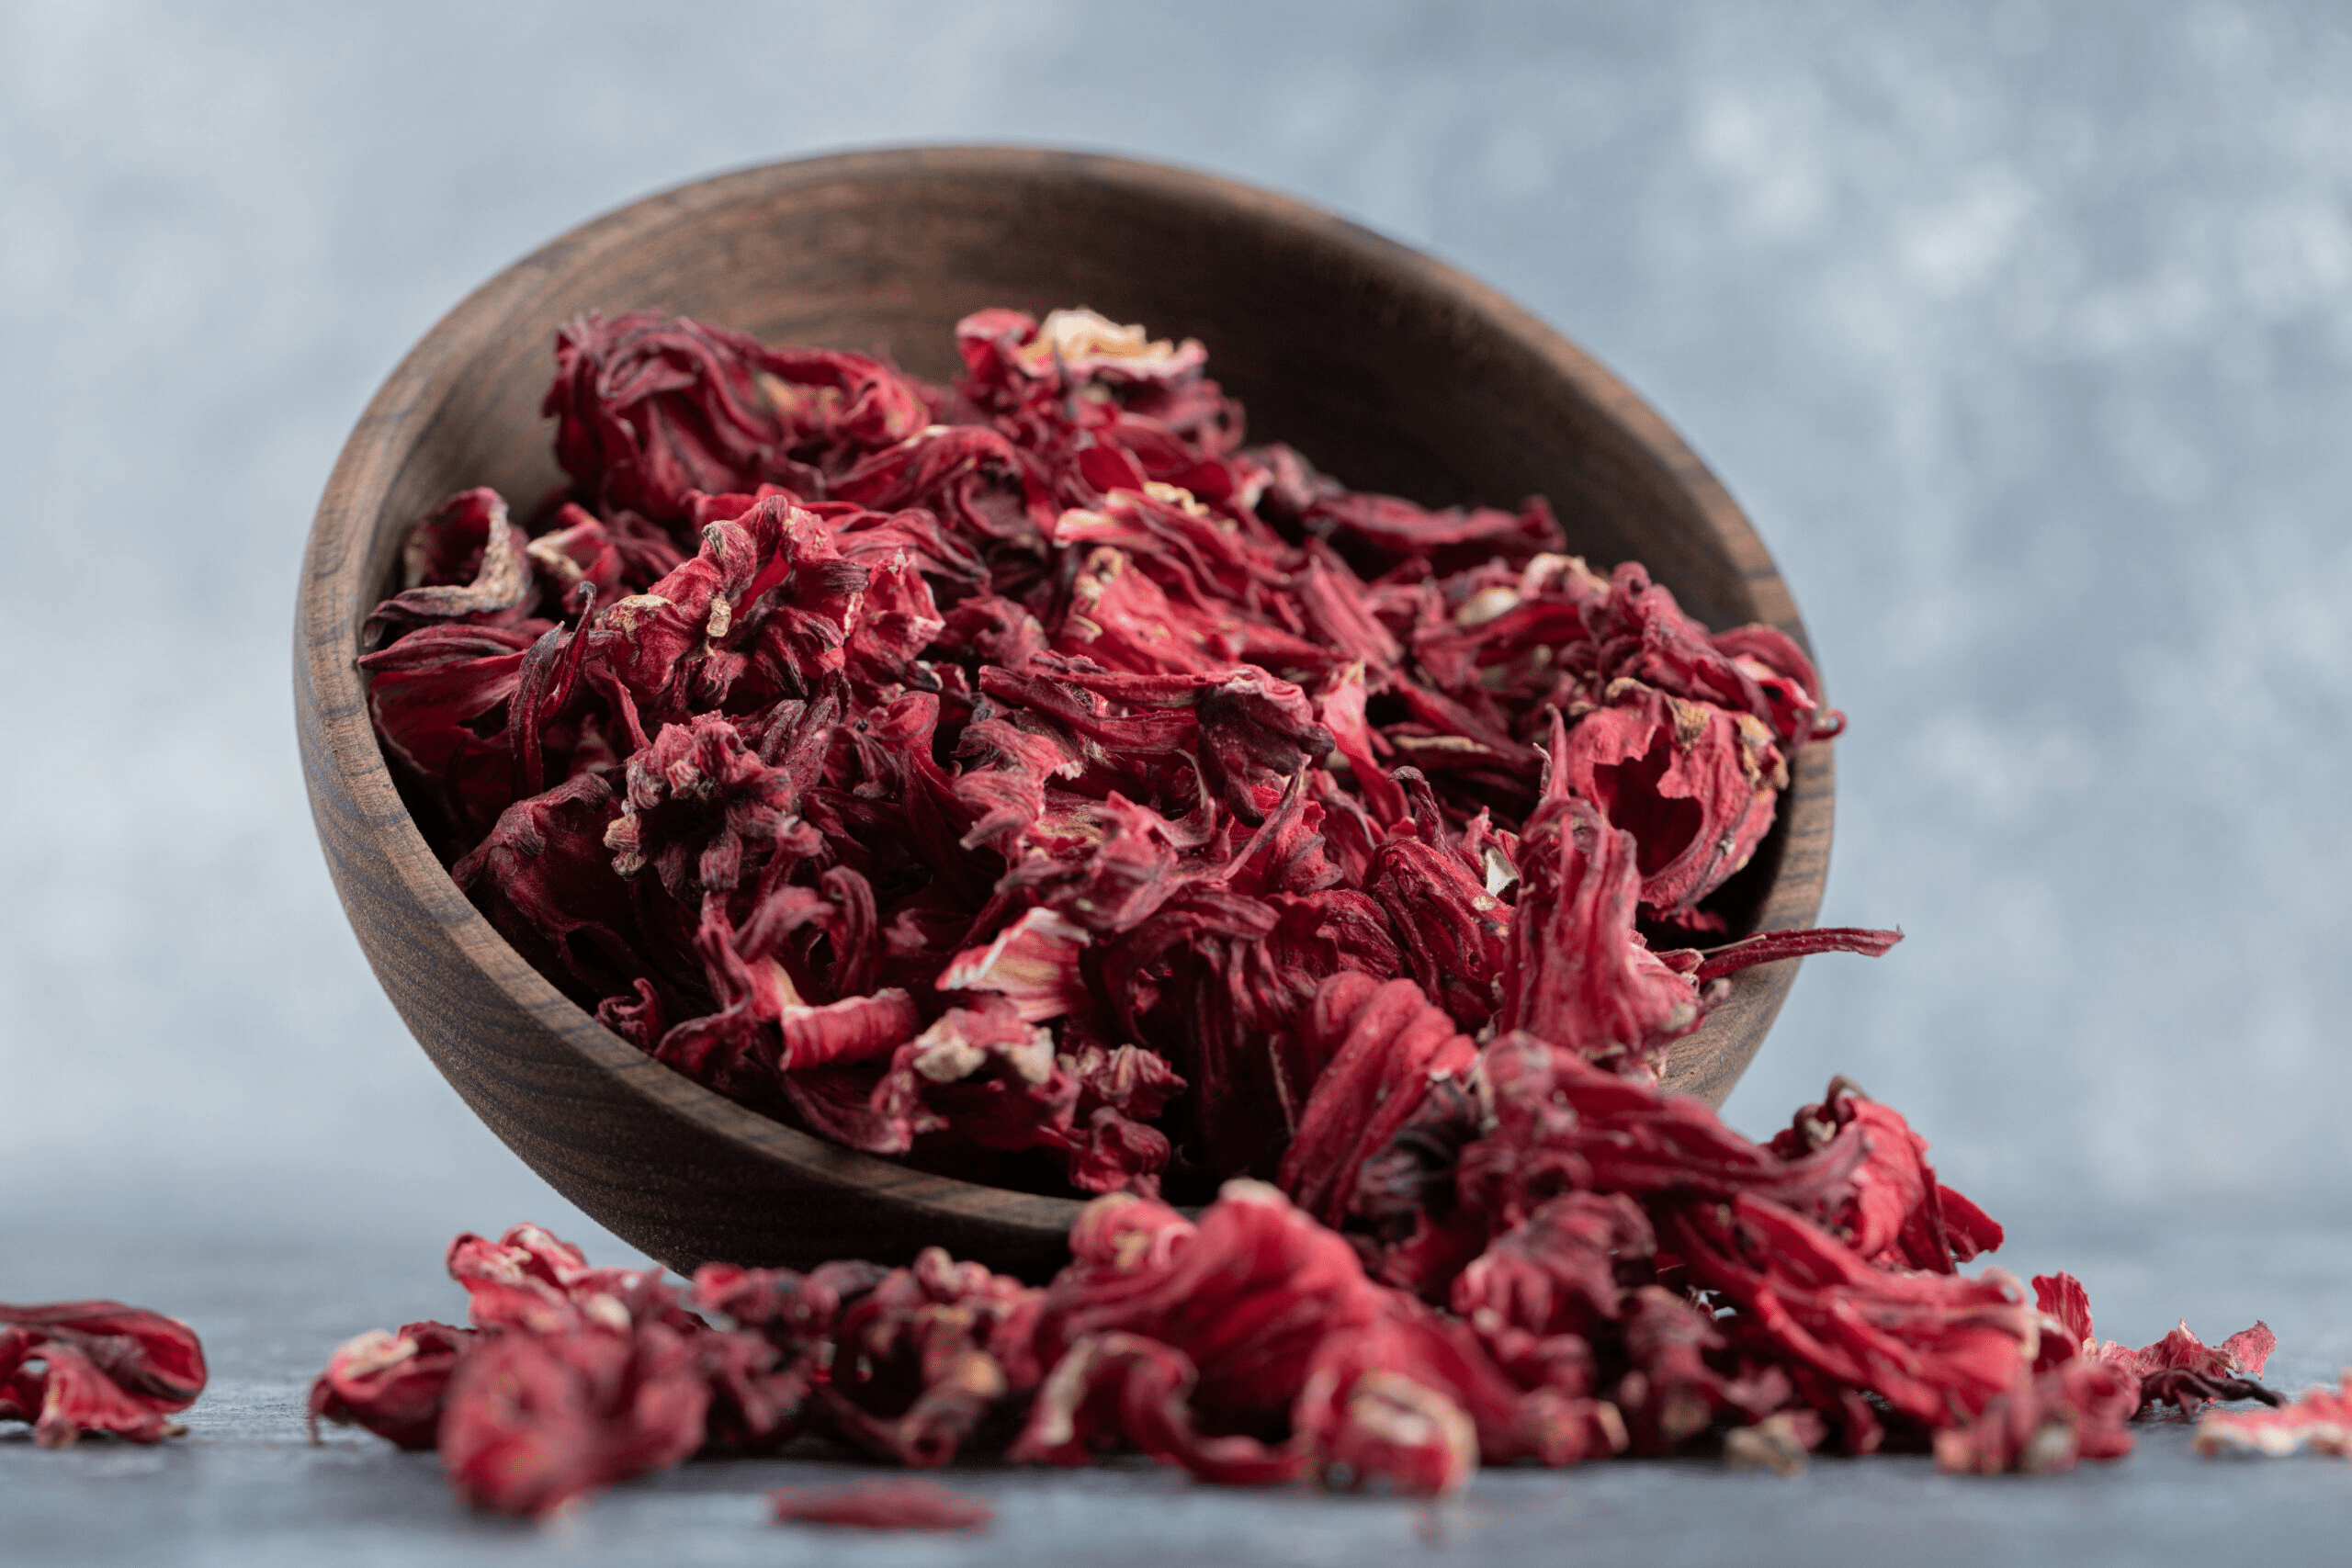
Here’s a close look at dried hibiscus flowers ready for grinding — notice the rich, deep color that makes this tint so special:
- Add the honey and optional vitamin E. Stir until smooth and uniform.
- Pour into small clean glass jars or tins. Let it cool and set at room temperature (about 1-2 hours).
- To use: Scoop a small amount with clean fingers, warm it slightly, and gently pat onto lips or cheeks. Build layers for more color. The tint can last several hours, though it varies by skin type and activity.
This creates a soft, moisturizing product with a natural reddish glow — perfect for everyday wear.

Tips for the Best Results and Customization
Want to tweak it? Here are some easy variations:
- For a scrub texture: Add 1 tablespoon fine sugar to gently exfoliate while applying.
- Deeper color: Use more hibiscus powder or infuse the oil overnight with extra flowers.
- Lighter shade: Reduce hibiscus and add a bit more plain oil.
- Storage: Keep in a cool place; it lasts 3-6 months. Always do a patch test first.
The beauty of homemade recipes like this is experimentation — find what works for your skin.
Why People Love Natural Tints Like This
Switching to plant-based options often feels refreshing. No strong fragrances, no long ingredient lists — just simple, recognizable items. Many report that natural tints feel less drying than some commercial ones, thanks to moisturizing bases like oils and honey.
This approach aligns with the growing interest in mindful beauty routines that prioritize gentle ingredients.
Quick Summary
Making your own hibiscus-based lip and cheek tint is an easy, rewarding project. With just a few natural items, you get a customizable product that adds a soft, rosy flush. It’s a fun way to embrace natural color while keeping things simple and gentle.
FAQ
How long does the color from hibiscus tint last?
The subtle tint typically lasts 4-8 hours on lips and cheeks, depending on eating, drinking, or touching your face. Reapply as needed for refreshed color.
Is hibiscus safe for sensitive skin?
Hibiscus is generally well-tolerated in natural beauty recipes, but always patch test on your inner arm first to check for any personal sensitivity.
Can I use this as a daily product?
Yes, many incorporate it into their routine for a no-makeup glow. Store properly and use clean tools to maintain freshness.
Disclaimer: This article is for informational purposes only and shares general ideas about natural DIY beauty recipes. It is not medical advice. Results vary by individual. Perform a patch test before full use, and discontinue if irritation occurs. Consult a healthcare professional if you have skin concerns or allergies.


